

Discord announced their new Embedded App SDK last month, making it easier for developers to create interactive experiences within Discord. Now, with Robo.js, you can build your own Discord activity in seconds!
Not just that, Robo.js also manages your project's server, API, and client-side code, so you can focus on building your activity. Let's get started!
Creating a new project
First, create a new Robo.js project by running the following command:
npx create-robo my-activity --kit app
This will launch an interactive setup process to configure your project just the way you like it. For this guide, we'll stick with the default recommendations - React and TypeScript.

You'll need to create an app in the Discord Developer Portal if you haven't already.
Once you're done with the setup, run cd my-activity to navigate to your new project.
Your new project
Your project is now set up and ready to go! Here's a quick overview of the project structure:
/src/app: Your client-side code, where you can build your web app using React, Vue, or any other front-end framework./src/api: Your server-side code, where you can build your API, webhooks, and other fancy server-side features./public: Static files like images, fonts, and other assets./config: Configuration files for your project.

While the api and app folders are reserved for your server and client-side code, you are free to create anything else in the /src directory!
Got it? Great! Let's move on to running your activity.
Running your activity
To start your activity in development mode, run the following command:
npm run dev
This will start your Robo project in development mode, refreshing with every change you make. You will also get a free Cloudflare tunnel for easy testing.
Go ahead and copy the tunnel URL and paste it into your activity's URL mapping in the Discord Developer Portal. This will allow Discord to communicate with your activity.
Then, join a voice channel in your test Discord server and click the "Create Activity" button. You should see your activity running in Discord!

Heads up: Discord currently limits activities to servers with less than 25 members (including bots).
Authenticating with Discord
As you can see, your project includes an API route called /api/token. This route is used to authenticate your activity with Discord securely.
The React starter code includes a handy useDiscordAuth hook that handles the authentication process for you. Let's try uncommenting the useDiscordAuth hook in the App.tsx file and see what happens.
import './App.css'
import { useDiscordAuth } from './discord-sdk'
export default function App() {
const { authenticated } = useDiscordAuth()
console.log(`Authenticated:`, authenticated)
return (
<div>
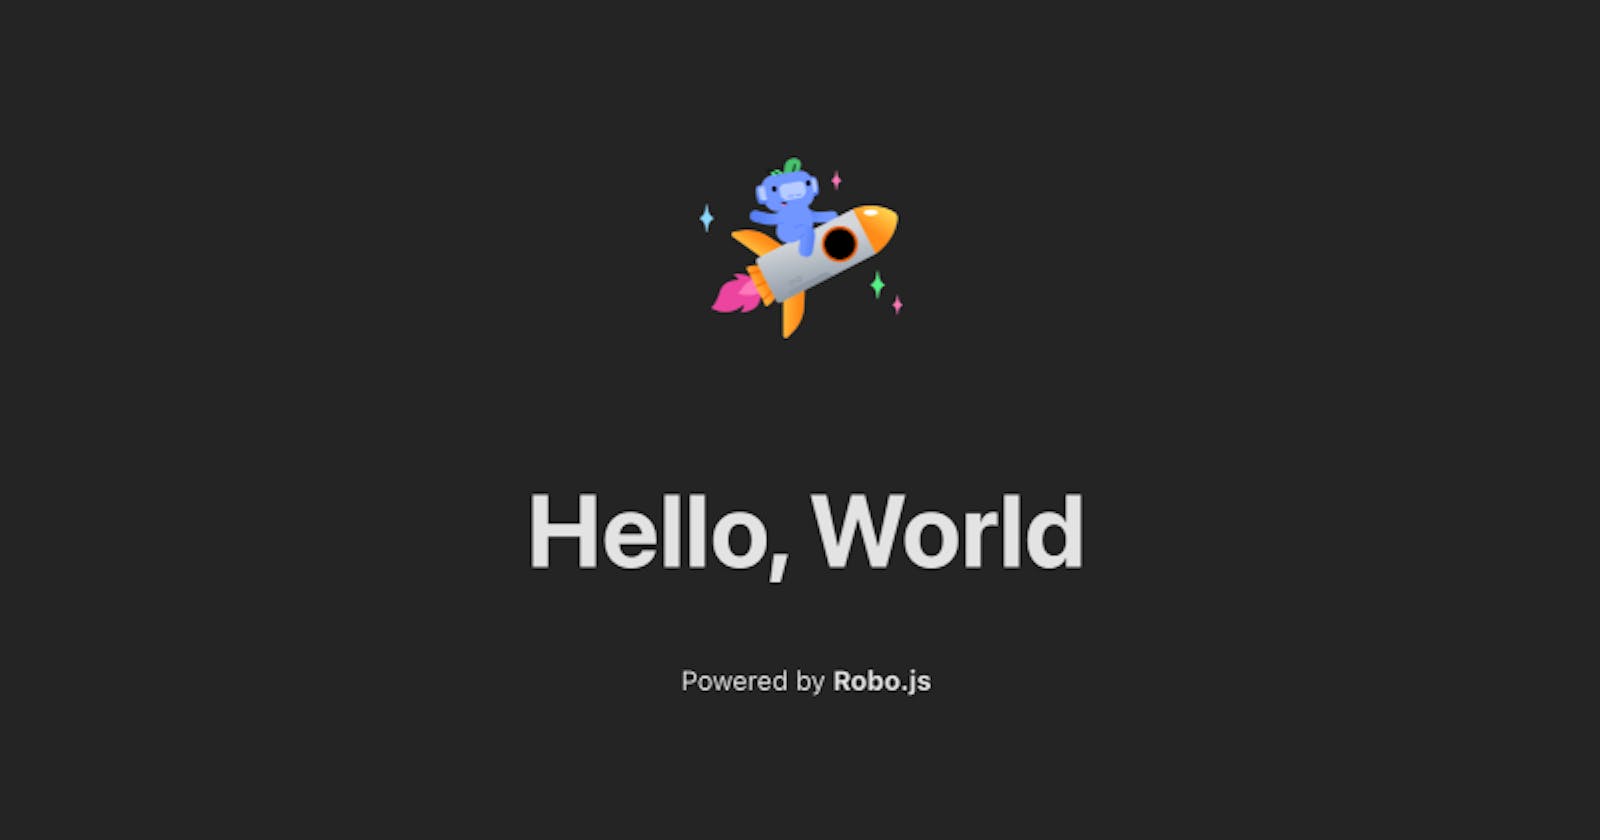
<img src="/rocket.png" className="logo" alt="Discord" />
<h1>Hello, World</h1>
<small>
Powered by <strong>Robo.js</strong>
</small>
</div>
)
}
Now when you run your activity, Discord will prompt you to authenticate with your app. You can change the scopes being requested in the /src/api/token.ts file.

Adding your own features
Now that you have your activity running, you can start adding your own features. You can create new routes in the /src/api folder, new components in the /src/app folder, and more. Seriously, it's super easy!
For example, let's create a new route at /api/health by creating a new file named health.ts in the /src/api folder:
export default () => {
    return { status: 'ok' }
}
And that's it! You've just created a new API route. You can now access this route at http://localhost:3000/api/health.

Final thoughts
Building a Discord activity with Robo.js is a breeze. With its intuitive project structure and built-in features, you can focus on creating a fun and engaging experience for your users.
But wait, there's more! Robo.js also supports plugins, so you can easily add new capabilities to your project with a single command. How cool is that?
npx robo add @robojs/ai
Did you know that Robo.js was originally built for Discord bots? Check out the getting started guide for creating a Discord bot with Robo.js.
➞ 📚 Documentation: Getting started
Got any feedback or questions? Join our Discord server and let us know. We're here to help you build amazing activities with Robo.js!